The Australian Curriculum content descriptor (learning outcome) I needed to teach this term was for students to develop and apply techniques and processes when making their artworks. I’ve always had a passion for street art so I began to think, how might I incorporate this into a unit of work?
For my student’s final assessment, I wanted students to design and paint a piece of street art which had a meaning/message. They had to design, paint, name their piece and write a paragraph to explain the meaning of their work of art. They also had to incorporate at least 4 techniques taught during art lessons. Here are some of their final assessment pieces (Year 5 students, age 10).


In order to get to the final assessment piece, I worked through a range of techniques with students. This is what I did:
1. LINES and WARM AND COOL COLOURS
Before you begin, explain that lines can be organic (soft, curved, flowing), inorganic (straight, mechanical, structural), wary on width, length, pathway, direction etc. Then using an A4 piece of paper, ask students to divide the page into 9 equal rectangles (or close enough to). Model different types on lines and then ask student to practice different types of lines in each of their rectangles. Then briefly discuss warm and cool colours (students should already be familiar with these).
So that students could use lines and warm/cool colours to create an art piece, I modelled on the board the outline of the sun setting on the horizon of the ocean. Students were then asked to use cool colours for the ocean and warm for the sun/sky. Download student’s work samples below to make this task a bit clearer.
Line_Art_Warm_Cool_Colours_Student_Sample-1hkikv9
2. HORIZONTAL and VERTICAL LINES plus PERSPECTIVE
Students had told me that they wanted to learn how to make their work look more realistic. So I began by teaching them how to draw a simple house using a vanishing point. You can use this video LINK, pause it and model/teach students how to draw a basic house, step by step. Then we looked at using the horizon and a vanishing point to draw a country road side. Here are some student work samples (note sure about the street lights for a country landscape though 🤔):
Perspective_Country_Road_Student_Sample-1colu41
Then I guided students using this video LINK, pausing and instructing them to draw a city image using one point perspective. They did an awesome job. Here are student’s work samples, there are 3 if you scroll through the PDF:
CityBuildingsStudentWorkSamples-v5fq2f
I then taught them how to use lines to create depth for a frog in a well and explicitly taught them how to draw bricks. Here are some student’s work samples: Frog_Well_Student_Work_Sample-1s0vgcr . Also, how to create depth using lines; student work samples: Room_perspective_student_sample-1auj4w6
3. REALISTIC and ABSTRACT ART
I chose to teach portraits as many of the street art pieces in Adelaide, SA, have a face included in the piece. I have background skills in portrait sketching so I taught my class by drawing eyes, then mouths, ears, noses etc on the interactive TV and then the dimensions of the face. You can easily search on the Internet ‘dimensions of the face sketching’ and a wealth of resources will be there to help you. Here are some of my student’s work samples: Portrait_Sketch_Student_Work_Sample-1fe742k
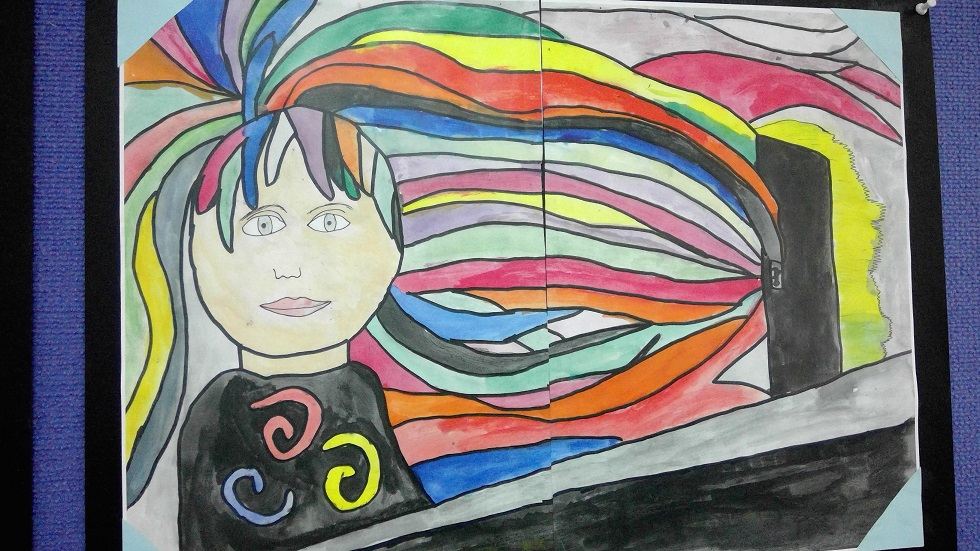
Once you have taught this, abstract portraits are much easier. I used this video LINK and this video LINK. Students then came up with amazing pieces, here are a few:
Abstract_Portrait_Student_Sample-2dvznb7
Abstract_Portrait_Student_Sample_2-2ldeegn
4. STREET ART
We discussed what street art is and where students have seen street art in their environment. This will vary, depending on where you live. I then took my class for a street art excursion. Before going on our excursion, my class researched the street art in our environment and then mapped out our excursion route (why not integrate a bit of Maths?). The entire excursion route was planned by my students.
Then they were given their final assessment task which I mentioned above . I enjoyed teaching the unit, as did my students. It does involve a lot of explicit teaching of various art skills, if you don’t have an art background, why not use my student’s work samples as examples, use the videos and find more videos online. If you have additional suggestions for teachers, post them below.